Table of Contents
A useful practice loop
- Choose an owned fighter and enter Training.
- Use a basic attack at several distances to learn its reach.
- Try each move separately and observe its animation and recovery.
- Watch the card after use for cooldown feedback.
- Repeat with block and dash to learn how to recover after an unsuccessful approach.
This practice sequence is editorial advice based on the available combat tools. It does not promise a guaranteed combo or a fixed damage result.
Ultimate readiness and awakening
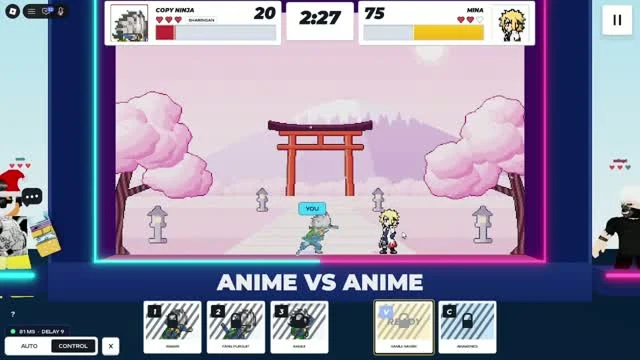
The recording shows an ultimate card changing between a percentage and READY. Treat READY as the visible signal to check before using the displayed ultimate input. Awakening uses a separate C prompt in the desktop hint row, and a separate card can be visible. A ready ultimate does not prove awakening is also available.
Recognise battle feedback
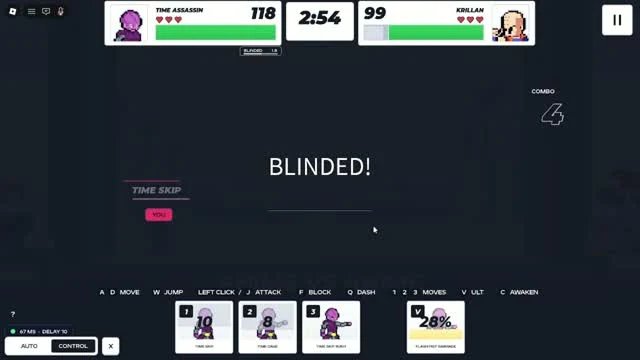
One recorded fight displays BLINDED! over a darkened arena. That frame confirms the visible status message and reduced visibility at that moment. It does not establish a universal duration, a counter or which other fighters can apply it. When learning a matchup, note the message and watch the health and move cards that remain visible.
Choose a fighter you can explain
Compare the fighters you own by reach, ease of landing moves and how comfortable you feel using defence between attacks. Test them under similar conditions. No reliable current full-roster matchup data or verified universal tier list was found for this release, so this guide does not invent rankings or best-team claims.